
How to Crochet for Beginners: Part 2
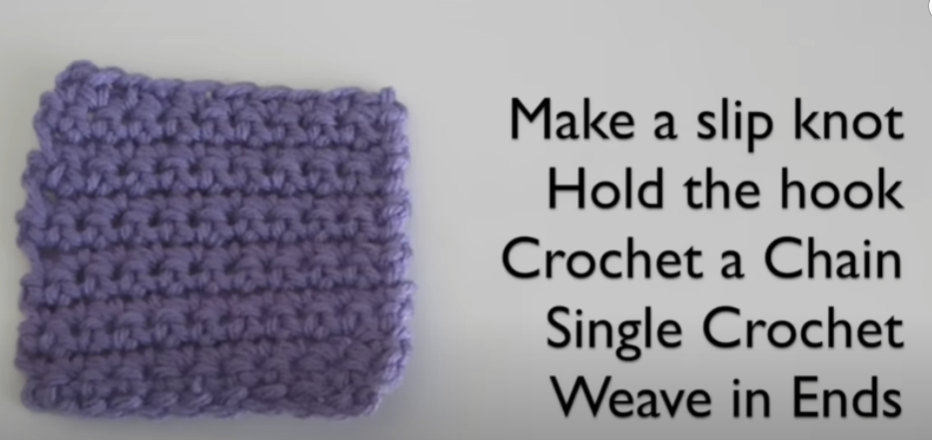
how to crochet for absolute beginners. A detailed step-by-step tutorial on how to crochet a chain and a single crochet, as well as make a slip knot, hold the crochet hook and yarn, and weave in the ends of your work.
Here are some resources for you to learn further